So I've decided to finally start a Grandma's Flower Garden quilt for little Isaac. I thought about making one while I was still pregnant, but I never actually acted upon it. Now that he's 3 months old (and probably not the best time), the madness has begun!
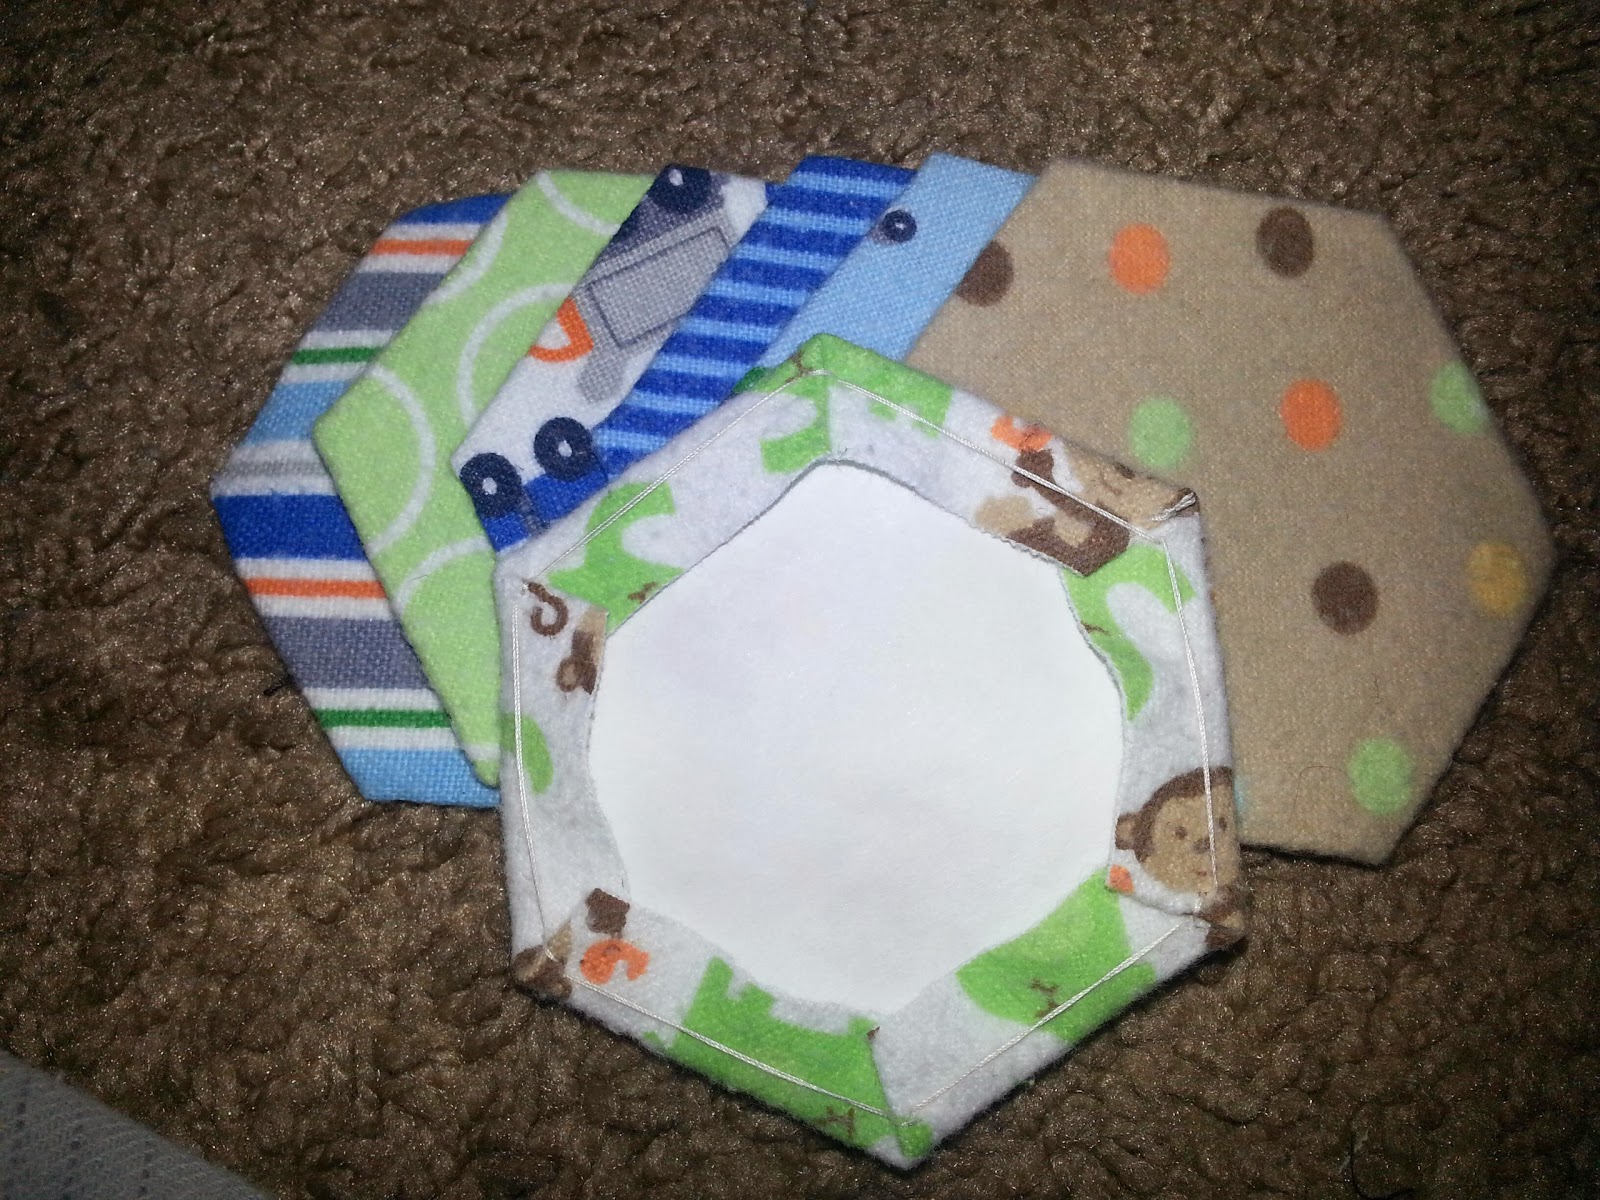
My hexagons are about 1 1/4". For those of you that don't know, you measure a hexagon by one side. Each side should be the same size. And yes, I'm using my son's receiving blankets for the flowers. The blankets began to be too small for him anyhow, so I set them aside in my fabric stash until I could figure out what to do with them.
To begin, I used photoshop shape tool to make my hexagon shape. I guesstimated (lol my iPad knew that word and corrected the spelling. What has this world come to?) on the size when "drawing" the hexagons. I just picked what was roughly the right one. I then printed about 6 on a piece of card stock and cut them all out.
Next I traced one of the card stock hexagons onto the freezer paper. To save some time (and my poor hands), I folded the freezer paper like a fan; forward, then backward, then forward, etc. I forgot to take a picture until I got to the very last one, but this should help clarify my instructions. Maybe I'll remember to take a proper picture next time. For now, I hope this helps.


To keep my interest, I've decided to complete this project in the following order:
1.) Baste one hexagon (the center piece)
2.) Baste the first petal
3.) Whip that petal to the center piece
4.) Baste the next petal
5.) Whip the that petal to the center and up the side of the previous petal
6.) Repeat steps 4 and 5 until the flower is complete.
You
don't have to do it in this order. This is just what happens to work
for me at this time. Who knows? Maybe I'll change my mind as I get
further along.
Below, you'll see those freezer paper hexagons ironed onto the fabric. I then used that clear ruler there and my rotary cutter (highly recommended) to cut 1/2" seam allowance around the outside of the freezer paper. This doesn't really have to be precise. You should be alright as long as you have enough fabric to fold down over the freezer paper. Some of my sides are 1/4" and some are even a little crooked.

Here they're all cut out and ready for basting.

Now, were you cutting these in the car with fabric scissors while your crazy husband was driving? Did they turn out all wonky like the one below? NO PROBLEM! All that really matters here is that you have enough fabric to fold down over the edge of the freezer paper/card stock piece. Once you baste them, you'll see that it looks completely fine on the front where it counts. :)

This is how I chose to baste my pieces. This keeps from making unnecessary holes in the fabric that might show up the longer they're in there and from strings getting tugged on, etc.
1. Fold one of the sides down over the freezer paper without actually bending the paper itself (hope I explained that right)
2. Then, fold down the side on the left, overlapping at the corner.
3. Now take your needle and poke it underneath the flap you made. It isn't necessary to have your knot underneath, but I like it because it keeps things tidy.
4. Now jab that needle from left to right, making sure to only go through that left and right flaps (NOT the freezer paper or through the front of your piece)

6. Move on over to the next corner and fold the right side down and then the left. Then insert your needle from right to left. Again, be sure to only go through those flap pieces and NOT the paper or the front of your piece.
7. On the same corner, repeat the last step.
8. This is what it should look like.

Keep on going all the way around your piece until you've reached your starting point and tie off your thread. Here's all seven pieces of my first flower. (This is before I decided to split the work)
Also, I later decided to stop and tie off the thread at the last corner instead of carrying on to my starting point. I simply only had enough thread on my needle one time to make it that far and felt silly that I had been essentially wasting thread.
When you've made the first two pieces, place them right sides together.
(And yes, I do whip-stitch them together this way, but it's what works for me. Don't judge. Hehe) For those of you who prefer the ladder stitch or aren't familiar with it, I've gone ahead and attached one piece this way and took pictures. This way, you can decide what works best for you.

And here's the whip stitch:

Whoops. I suppose I forgot to take a picture here that shows how I started whipping these together... I'll add one asap. I just stuck my needle in under one of the flaps like I did earlier to start basting, only I poked the needle out at the very tip of a corner. Below, You'll see how close my stitches are.

Here's what it looks like when you're all done.

First flower came out great!

Here's what the back of the flower looks like.

Starting to come together quite nicely! :)


If I can make just one of these (pictured below) a day, I won't be doing too bad. :) Busy life with a quickly growing baby! Hahah! Also, for what it's worth, I've decided to go with a blind ladder stitch for the rest of the piece. I figured if I'm going to go through the effort of hand stitching, I might as well do it "right". :)


Here (below) is what I have completed thus far:
As you can see, I've temporarily skipped adding some green "leaves". When I don't have a lot of time, or maybe just don't feel like ironing and cutting the pieces, I just piece together what I've already prepared. Each flower will be the same no matter what; as will most of the leaves. So these parts of the quilt can be done at any time separately from the big piece. Then, when I'm ready to attach them to it, I add the necessary amount of beige/off-white flannel pieces just beforehand. To me, it makes it seem like less work while handling the ever-growing final piece. It has gained some weight since I started and will only get heavier as I go along. Remember, each hexagon still has the freezer paper attached to it. Most of them are still there anyways... Haha The more I work with it, the more they sort of get worn out and fall off. But that's alright. The most important ones are those that still have piece to be added to them. **End Update 01May14**
**Update 06 Sep 14**
Whew! Who knew a toddler (one already!) could be so crazy! Hahaha Yeah. I knew life would get crazier, but WHEW! This boy is awesome and I wouldn't have him any other way!
Anyhow, as for his quilt, I've actually done a TON more than I thought I would but still nowhere near finished. I'm currently at about the halfway mark (4 flowers wide by 4 flowers tall). I'll add a picture tomorrow!
*** *** *** *** *** ***
I'll add more pictures and explanations as I go. If you need me to clarify anything, don't be afraid to ask! I'd be happy to help as best as I can. =)
Keep checking back for updates!
No comments:
Post a Comment